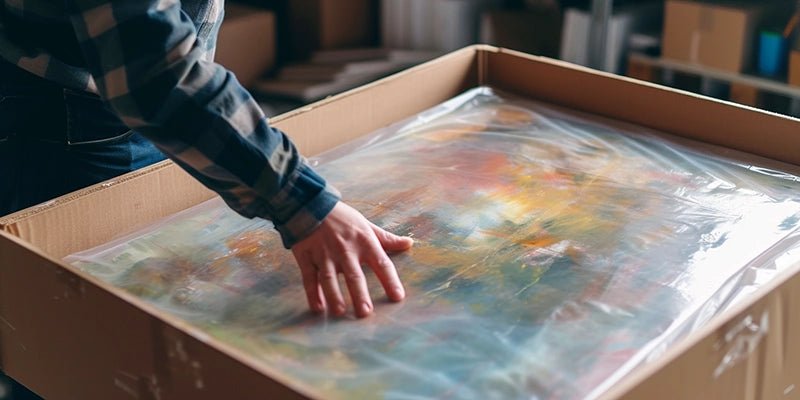
Unpacking and displaying fine art at home is an exciting endeavour that allows you to surround yourself with beauty and inspiration. Whether you've recently acquired a new piece or are unpacking art after a move, handling it with care is crucial to preserve its value and aesthetic appeal. Follow this step-by-step guide to ensure you unpack and display your fine art with the utmost attention and consideration.
1. Gather Your Supplies:
Before you begin, gather all the necessary supplies to ensure a smooth unpacking process. You'll need:
- Soft, clean gloves: These protect the artwork from oils and dirt on your hands.
- Acid-free tissue paper or glassine: Used to wrap delicate pieces and prevent scratches.
- Bubble wrap or foam sheets: Provides cushioning and protection during transport.
- Packing tape: For securing wrapping materials.
- Box cutter or scissors: To carefully open packaging.
- Pencil: For marking hanging location on your wall.
- Hanging hardware: If the artwork needs to be hung on the wall.
- Level and measuring tape: For accurate positioning during hanging.
- Soft cloth or microfibre duster: For dusting the art once unpacked.
- Optional: screwdriver, pry bar for disassembling crated works.
- Optional: studfinder, level for heavy or complex artworks.
2. Choose a Suitable Location:
Select an appropriate spot for displaying your artwork. Consider factors like lighting, room temperature, and wall space. Ensure that the area is not prone to direct sunlight or extreme temperature fluctuations, as these can cause damage to the art over time.
3. Clear the Area:
Clear the designated area of any clutter or obstructions. This will provide you with enough space to manoeuvre and unpack the artwork safely.
4. Wash Your Hands and Wear Gloves:
Before handling any artwork, thoroughly wash your hands to remove oils and dirt that could potentially damage the piece. Wear soft, clean gloves to further protect the art's surfaces from direct contact.
5. Unpack with Care:
For framed artwork or canvases, follow these steps:
- Lay out a clean, soft surface, such as a clean table or soft blanket.
- Carefully cut the packing tape and remove the outer packaging, ensuring not to scratch or damage the art.
For unpacking crates:
- Depending on the way the crate is made, use a tool like the claw of a hammer or pry bar (if nailed together), or screwdriver or drill (if screwed together) to carefully disassemble part of the crate. Take your time and work around the edges of the crate. Remember, you may not need to take the whole crate apart - only enough of it to safely get the artwork out.
- Once the nails or screws are loosened, gently lift the lid of the crate. If the crate has a lid that is nailed shut, pry up the edges to create a gap that allows you to lift the lid without forcing it.
- After you have removed the piece, gently remove any bubble wrap or foam sheets from around the artwork.
- If the art is wrapped in tissue paper or glassine, carefully unwrap it, taking care not to touch the surface.
- For sculptures or fragile pieces, unwrap them slowly and with extra caution. Use soft cloth or foam sheets to protect delicate parts.
6. Inspect for Damage:
Examine the artwork closely for any signs of damage that might have occurred during transport. Look for dents, scratches, or any other issues. If you notice any damage, document it with photographs of packaging and art damage for insurance purposes.
7. Hang and Display:
If you're planning to hang the artwork, follow these steps or check out the video below on hanging artwork in your space:
- Determine the ideal height for hanging. The centre of the artwork should be at eye level.
- Use a measuring tape and level to ensure accuracy.
- Install appropriate hanging hardware on the back of the artwork according to its weight and size, if hanging hardware is not already installed.
- Install appropriate hanging hardware on the wall according to its weight and size. Use special wall-mounting hardware, such as drywall anchors, if needed.
- Mount the artwork carefully, adjusting as needed to ensure it's level and centred.
For Heavy Artworks:
Over 5kg we highly recommend installing the wall mounts with studs or other solid structural support.
Use a stud finder to locate the wall studs. Studs provide the best support for heavy artworks. Mark the location of the studs with a pencil.
Measure the distance between the hanging hardware on the artwork and mark the corresponding points on the wall, ensuring they align with the stud locations.
Depending on the type of wall and hardware you're using, install heavy-duty wall anchors or screws into the marked points on the wall. If you're using anchors, follow the manufacturer's instructions for installation. If you're screwing directly into studs, use appropriate screws and a drill to make pilot holes before screwing in the screws.
With the anchors or screws in place, hang the artwork on the wall by attaching it to the hanging hardware. Use a level to ensure the artwork is straight and properly aligned. Be sure to give the artwork a little shake to test its stability.
8. Maintain and Protect:
To keep your fine art looking its best:
- Dust the artwork regularly using a soft cloth or microfiber duster.
- Avoid using chemical cleaners or sprays directly on the artwork.
- Keep the artwork away from direct sunlight, moisture, and extreme temperatures.
- Consider investing in UV-filtering glass or acrylic for framed pieces to protect against fading.
By following these steps, you'll be able to unpack and display your fine art at home while ensuring its longevity and aesthetic appeal. Remember that each piece is unique, so take the time to handle it with the care and respect it deserves.
